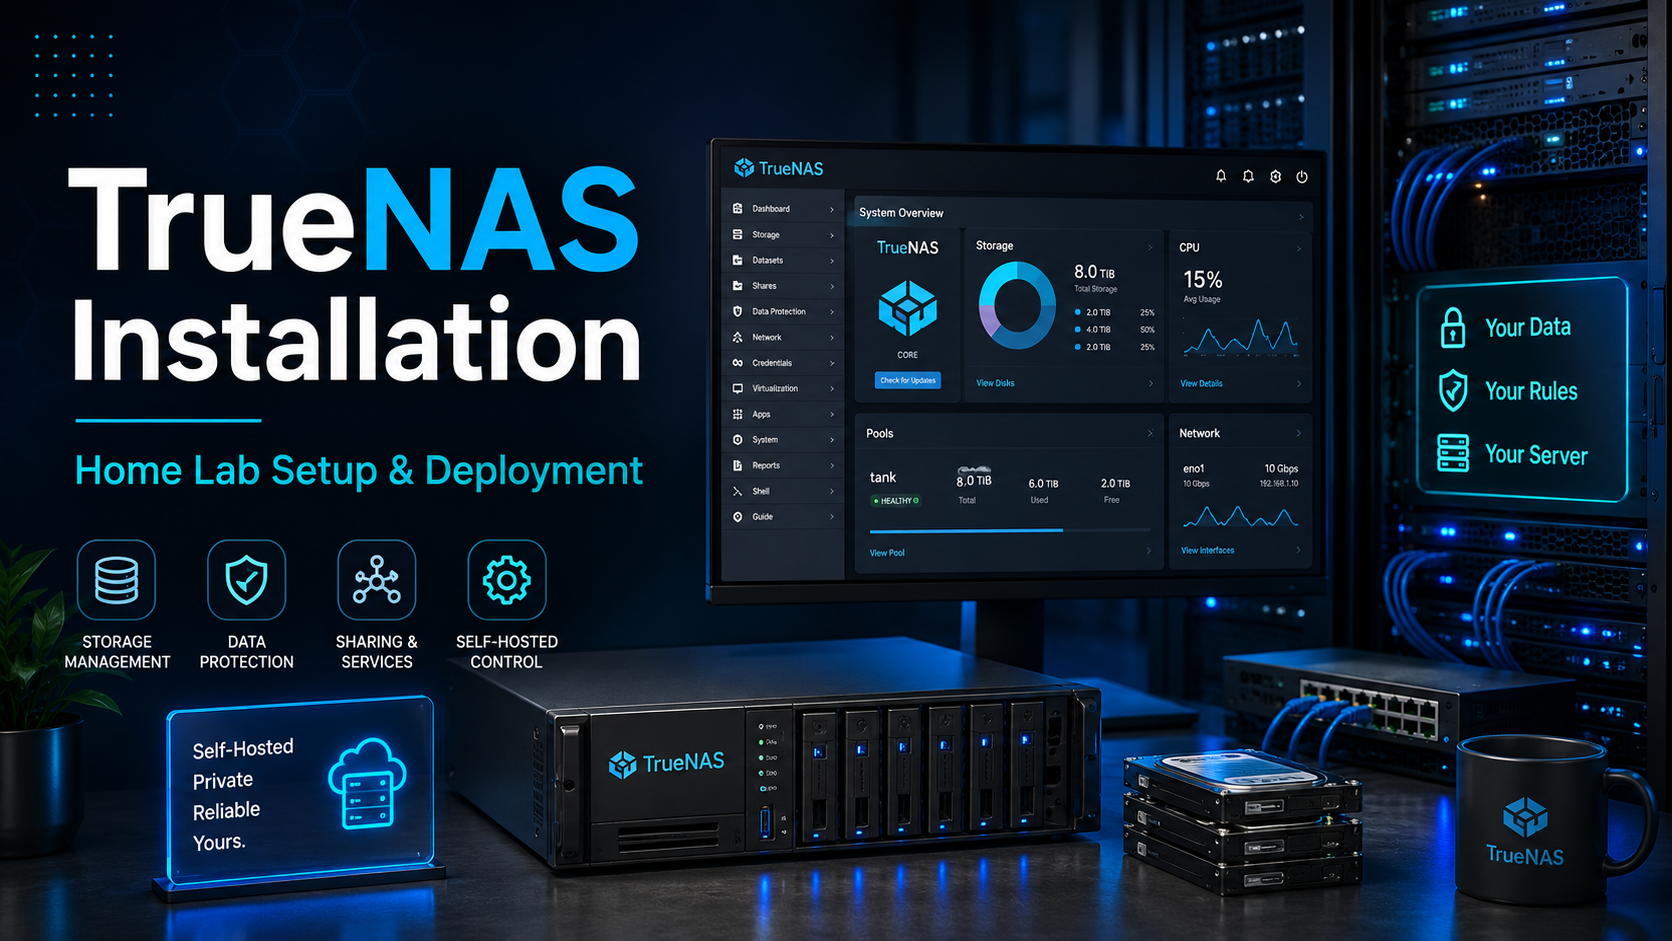
TrueNAS Installation — A Complete Step-by-Step Guide for Beginners
TrueNAS is the operating system I trust for every piece of storage I care about — my backups, my media library, my virtualization datasets, and my homelab services. It turns commodity hardware into an enterprise-grade storage appliance with ZFS, SMB/NFS sharing, container workloads, and a web UI that doesn't require a PhD to navigate.
This guide walks you through the entire process: hardware planning, downloading, installing, post-install hardening, pool creation, and your first SMB share. No prior storage or FreeBSD knowledge required.
What It Is
| Project | TrueNAS CORE (FreeBSD-based) / TrueNAS SCALE (Linux-based) |
| Purpose | Network-attached storage (NAS) with ZFS |
| Interface | Web UI + optional shell |
| License | BSD / GPL (open source) |
| Documentation | truenas.com/docs |
TrueNAS comes in two flavors:
- TrueNAS CORE — Based on FreeBSD. Mature, rock-solid ZFS implementation, lower resource usage. Best for pure storage appliances.
- TrueNAS SCALE — Based on Debian Linux. Adds Kubernetes (K3s) for containers, better hardware support for newer CPUs/GPUs. Best if you want apps (Plex, Home Assistant, etc.) alongside storage.
This guide covers TrueNAS SCALE (current recommendation for most homelabs), but the installation flow is nearly identical for CORE.
The Core Problem: Storage Is Hard to Get Right
Most people start with a USB drive on a router, then a Raspberry Pi with an external drive, then a repurposed desktop with three mismatched drives in a "RAID" that isn't really RAID. Eventually they lose data or spend weekends rebuilding.
ZFS solves this by combining the filesystem and volume manager into one coherent system:
The hard part isn't ZFS — it's the decisions before you type zpool create:
- How many drives? What topology (mirror vs raidz1 vs raidz2)?
- ECC RAM — do you need it? (Yes, for data you care about)
- Boot device — USB, SSD, or mirrored pair?
- Network — 1 GbE, 2.5 GbE, 10 GbE, or 25 GbE?
- Backup strategy — local snapshots + off-site replication?
This guide makes those decisions explicit.
Step 0 — Hardware Planning
Minimum Requirements (SCALE)
| Component | Minimum | Recommended |
|---|---|---|
| CPU | 2 cores (x86_64) | 4+ cores, AES-NI |
| RAM | 8 GB | 16–32 GB + ECC |
| Boot Drive | 16 GB USB / 64 GB SSD | 128 GB+ NVMe (mirrored) |
| Storage Drives | 2× same size | 4+ drives, same model |
| Network | 1 GbE | 2.5/10 GbE NIC |
| HBA | Optional | LSI 9201-16i / 9300-16i (IT mode) |
Drive Topology Cheat Sheet
| Drives | Topology | Usable Capacity | Fault Tolerance | Notes |
|---|---|---|---|---|
| 2 | Mirror | 1× drive | 1 drive | Simplest, best performance |
| 3 | RAIDZ1 | 2× drives | 1 drive | Good balance |
| 4 | RAIDZ1 | 3× drives | 1 drive | — |
| 4 | RAIDZ2 | 2× drives | 2 drives | Recommended for 4+ drives |
| 5 | RAIDZ2 | 3× drives | 2 drives | — |
| 6 | RAIDZ2 | 4× drives | 2 drives | — |
| 8 | RAIDZ2 | 6× drives | 2 drives | Or 2× 4-drive mirrors |
Rule of thumb: For 4+ drives, use RAIDZ2 (dual parity). The extra parity costs one drive but survives any two simultaneous failures. RAIDZ1 survives only one.
ECC RAM — Yes, You Need It
ZFS assumes your RAM is correct. A single-bit flip in a checksum calculation can corrupt your pool irrecoverably. Consumer CPUs (Ryzen, Core i3/i5) support unbuffered ECC on most consumer motherboards — enable it in BIOS. It costs ~10% more and buys you data integrity.
Step 1 — Download & Verify
- Go to truenas.com/download
- Choose TrueNAS SCALE (or CORE if you prefer FreeBSD)
- Download the latest ISO (e.g.,
TrueNAS-SCALE-24.04.1.1.iso) - Verify the checksum:
# Linux/macOS
sha256sum TrueNAS-SCALE-24.04.1.1.iso
# Compare to the SHA256 on the download page
Never skip verification. A corrupted ISO = corrupted install = corrupted data later.
Step 2 — Create Boot Media
Option A: USB (Ventoy — Recommended)
Ventoy lets you drop multiple ISOs on one USB and boot any of them.
# Install Ventoy on Linux
sudo ./VentoyWeb.sh
# Or on Windows: Ventoy2Disk.exe
- Plug USB, open Ventoy, select device, click Install
- Copy
TrueNAS-SCALE-*.isoto the USB - Boot target machine from USB
Option B: Direct Write (dd / Rufus / balenaEtcher)
# Linux/macOS - BE CAREFUL WITH /dev/sdX
sudo dd if=TrueNAS-SCALE-*.iso of=/dev/sdX bs=1M status=progress conv=fsync
Warning:
dddestroys data on the target device. Triple-check/dev/sdX.
Step 3 — Boot & Install
- Boot from USB — Enter BIOS/UEFI (usually F12, F11, F8, or Del), select USB as boot device
- TrueNAS Installer loads — wait for the console menu
- Select Install/Upgrade
- Select destination drive — Choose your boot SSD (not your data drives!)
- For USB boot: select the USB device
- For SSD: select the NVMe/SATA SSD
- Tip: Install to a dedicated boot device, not a data drive
- Set root password — Use a strong password (you'll use this for console/SSH)
- Choose boot mode — UEFI (modern) or Legacy BIOS (older hardware)
- Wait for installation — Takes 2–5 minutes
- Remove USB, reboot
Step 4 — First Boot & Network
- System boots to console showing:
TrueNAS SCALE 24.04.1.1 Web UI: http://192.168.1.42 (or your DHCP address) - Open Web UI — Navigate to the IP shown in your browser
- First-time setup wizard:
- Admin password — Set a strong password (different from root)
- System name — e.g.,
truenas-homelab - Time zone — Select yours
- Network — DHCP is fine initially; set static IP later
- Email — For alerts (configure SMTP later)
Step 5 — Post-Install Hardening
5.1 Set Static IP
Network → Interfaces → Edit → IPv4 → Static
- IP: 192.168.10.10/24 (your subnet)
- Gateway: 192.168.10.1
- DNS: 1.1.1.1, 9.9.9.9
- Click Save, then Apply
Write down the new IP. You'll lose the DHCP address.
5.2 Enable SSH (for admin only)
Settings → Shell → Enable SSH
- Root login: Disable (use admin user + sudo)
- Port: Change from 22 (e.g., 2222)
- Public key only: Generate SSH key, paste public key here
# On your laptop
ssh-keygen -t ed25519 -C "admin@truenas"
cat ~/.ssh/id_ed25519.pub  # copy to TrueNAS SSH keys
5.3 Configure Email Alerts
System → Email
- From: truenas@yourdomain.com
- SMTP: your provider (Gmail, SendGrid, self-hosted)
- Test with Send Test Email
5.4 Configure Updates
System → Update → Update Preferences
- Train: STABLE (not NIGHTLY)
- Check daily, notify but don't auto-install
5.5 Set Up Cloud Credentials (for backups)
System → Cloud Credentials → Add - Provider: AWS S3, Backblaze B2, Wasabi, Google Cloud, etc. - Use for: Cloud Sync Tasks (Step 9)
Step 6 — Create Your Storage Pool
This is the most critical step. Get it right once.
6.1 Identify Disks
Storage → Disks — All data drives should appear (not boot drive). - Note serial numbers: Storage → Disks → Columns → Serial Number - Label each physical drive with its serial (masking tape + sharpie)
6.2 Create Pool
Storage → Pools → Add → Create New Pool
| Field | Value |
|---|---|
| Name | tank (or storage, data, pool1) |
| Suggestion | Click SUGGEST LAYOUT — TrueNAS auto-groups by size |
| Vdev layout | Choose based on drive count (see table above) |
| Encryption | Yes if drives leave your house (AES-256-GCM) |
| Compression | lz4 (default, always on) |
| Atime | Off (saves writes) |
Example: 4× 8 TB Drives → RAIDZ2
Pool: tank
  VDEV: raidz2
    - ada1 (8 TB, serial WD1234)
    - ada2 (8 TB, serial WD1235)
    - ada3 (8 TB, serial WD1236)
    - ada4 (8 TB, serial WD1237)
Usable: ~14.5 TB
Tolerance: 2 drive failures
Click Create, confirm WIPE ALL DATA, wait for pool creation.
6.3 Verify Pool Health
Storage → Pools → tank → Status
- Should show HEALTHY
- No degraded/offline devices
- Run Scrub (first one completes in minutes)
Step 7 — Create Datasets
Datasets are ZFS filesystems with their own properties. Create one per workload.
Storage → Pools → tank → Add Dataset
| Dataset Name | Purpose | Key Properties |
|---|---|---|
backups |
Machine backups | compression=zstd, atime=off, snapdir=visible |
media |
Movies/TV/Music | compression=lz4, atime=off, recordsize=1M |
vm-storage |
VM disks | compression=zstd, sync=always, volblocksize=16K |
app-data |
Container configs | compression=zstd, atime=off |
documents |
Personal files | compression=zstd, atime=off, copies=2 |
Pro tip: Set
copies=2on irreplaceable datasets (documents, photos). ZFS stores two copies on different vdevs — survives a single disk failure even in a mirror.
Step 8 — Create SMB Shares
Sharing → Windows (SMB) Shares → Add
| Field | Value |
|---|---|
| Name | Media |
| Path | /mnt/tank/media |
| Read Only | No |
| Browseable | Yes |
| Guest Access | No |
| Auxiliary Parameters | vfs objects = fruit streams_xattr catiafruit:metadata = streamfruit:model = MacSambafruit:encoding = native |
Create User Accounts
Credentials → Local Users → Add User
| Field | Value |
|---|---|
| Username | media_user |
| Full Name | Media User |
| Password | Strong password |
| Shell | /usr/sbin/nologin (no shell) |
| Samba Authentication | Yes |
Sharing → Windows (SMB) Shares → Media → Edit → ACL
- Add media_user with Read/Write
- Remove builtin_administrators if not needed
Test from Client
# macOS
open smb://192.168.10.10/Media

# Windows
\\192.168.10.10\Media

# Linux
gio mount smb://192.168.10.10/Media
Step 9 — Set Up Automated Backups
9.1 Local Snapshots (Instant Recovery)
Data Protection → Snapshots → Add
| Field | Value |
|---|---|
| Dataset | tank/media (repeat for each) |
| Naming Schema | custom-%Y%m%d-%H%M |
| Schedule | Every 1 hour (or 15 min for critical) |
| Keep For | 2 weeks (hourly) + 3 months (daily) |
| Recursive | Yes |
Snapshots are instant, zero-cost (copy-on-write), and read-only. Deleted a file? Browse
.zfs/snapshot/in the share and copy it back.
9.2 Replication to Another TrueNAS (Off-site)
If you have a second TrueNAS at a friend's house / colo:
Data Protection → Replication Tasks → Add
| Field | Value |
|---|---|
| Source | tank/media |
| Destination | remote_tank/media (on remote TrueNAS) |
| Transport | SSH (port 2222) |
| Schedule | Daily at 02:00 |
| Also Include | Snapshots |
| Hold Pending | 2 weeks |
First replication sends full data (slow). Subsequent runs send only changed blocks (fast).
9.3 Cloud Sync (Backblaze B2 / Wasabi / S3)
Data Protection → Cloud Sync Tasks → Add
| Field | Value |
|---|---|
| Direction | PUSH |
| Provider | Backblaze B2 (or your provider) |
| Credential | Select from Step 5.5 |
| Bucket | truenas-backups-media |
| Folder | media/ |
| Schedule | Daily 03:00 |
| Transfer Mode | SYNC (or COPY for immutable) |
| Encryption | AES-256 (client-side) |
| Filename Encryption | Yes |
Cost example: 14 TB on Wasabi = ~$83/month. Cheaper than a second NAS for pure off-site.
Step 10 — Monitoring & Maintenance
10.1 SMART Monitoring
Storage → Disks → Each disk → Edit → S.M.A.R.T. → Enable - Short test: Weekly - Long test: Monthly - Alert thresholds: Reallocated_Sector_Ct > 0, Current_Pending_Sector > 0
10.2 Scrub Schedule
Data Protection → Scrubs → Add
| Field | Value |
|---|---|
| Pool | tank |
| Schedule | Monthly, 1st Sunday 03:00 |
| Threshold | 35 days |
Scrub reads every block, verifies checksums, repairs from redundancy. Run monthly.
10.3 Alerting
System → Alerts
- Enable: PoolDegraded, DiskFailure, SMARTError, ScrubError, ReplicationFailed
- Transport: Email + Webhook (Discord/Slack via ntfy.sh)
Step 11 — Apps (SCALE Only)
TrueNAS SCALE runs K3s Kubernetes. Deploy apps via Apps → Catalog → TrueCharts / Official.
| App | Purpose | Notes |
|---|---|---|
| Plex / Jellyfin | Media server | Mount /mnt/tank/media |
| Home Assistant | Home automation | Persistent config in app-data |
| Paperless-ngx | Document scanner | Mount /mnt/tank/documents |
| Immich | Photo backup | Mount /mnt/tank/photos |
| AdGuard Home | DNS ad-block | Run on host network |
| Uptime Kuma | Service monitoring | Lightweight |
| Grafana + Prometheus | Metrics | Scrapes TrueNAS exporter |
Each app gets its own dataset in app-data for persistence.
What I'd Tell Anyone Building One
-
Start with mirrored boot drives. A single USB boot drive will fail. Mirror two SSDs (or two USBs) for the boot pool.
zpool attachafter install. -
Don't mix drive sizes in a vdev. A 4 TB + 8 TB mirror gives you 4 TB usable. Buy identical drives.
-
Label every drive physically. When (not if) a drive fails, you need to pull the right one. Serial on the drive = serial in TrueNAS = label on the chassis.
-
Test your restores. A backup you've never restored is a wish. Once a quarter: pick a random file, delete it, restore from snapshot. Once a year: do a full disaster recovery drill.
-
Document your topology. Keep a text file: pool layout, drive serials, IP addresses, passwords (in a password manager), replication targets, cloud buckets. If you get hit by a bus, someone else can recover.
-
Power protection. A UPS with NUT integration (Services → UPS) lets TrueNAS shut down cleanly on power loss. A dirty shutdown on ZFS usually recovers, but why risk it?
Get It
- Download: truenas.com/download
- Docs: truenas.com/docs
- Community: forums.truenas.com / r/truenas
- Hardware Recommendations: truenas.com/hardware-recommendations
Last updated: 2026-08-30 — Written for TrueNAS SCALE 24.04 (Dragonfish). Adjust paths/versions for newer releases. EOF echo "written"